Arcade Build Guide
- The Design
- Getting Started
- Mockups
- The Build
- Enclosure
- Marquee
- T-Molding
- Controls
- Assembly
- The Marcade
- Completed Machine
- Notes
- Summary
- Pictures

Getting Started
I am I child of the 80’s and like many of my generation (particularly the geeky-inclined) the video arcade played a central role in my development. A pocket of quarters was a lot of money for a 12-yr-old boy, but escaping into a video game for an afternoon was totally worth it.
Fast forward to the present: some basic electronics skills, a few power tools and a little money have put the dream of having your own arcade in reach of anyone. Technology has advanced a lot in thirty years, but I have to believe it was all so I could play Donkey Kong in my basement.
With cheap open-source hardware, USB controllers and emulators building an arcade machine is actually more of a woodworking than electronics project (as I would find out). The good news is you can put as much (or little) effort into your enclosure and basically end up with the same machine as the next guy. Trust me, you really won’t care about an exposed screw or slightly askew join when you’re seconds away from setting the Defender high score.
Mockups
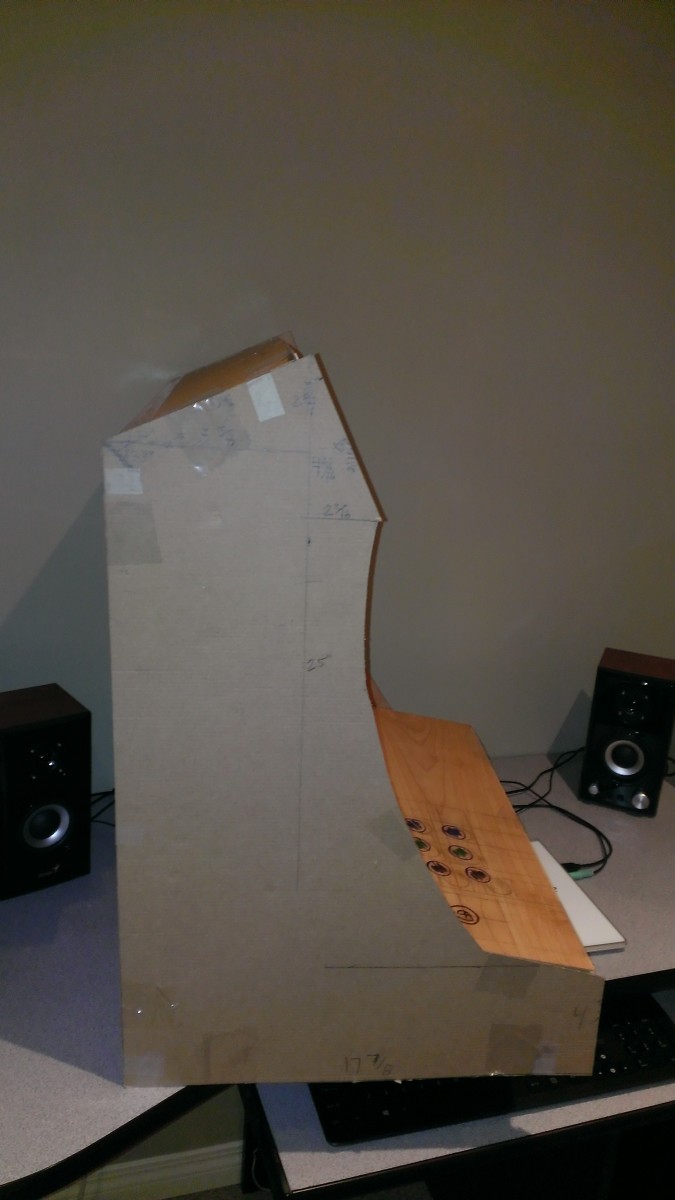
Building a full-size mockup of your machine is probably the single most important step of the entire project. It well determine if your controller layout works, your monitor fits, your machine is deep enough for buttons and other internals, and if it just plan looks good, or maybe a little weird. I had a good idea of my design and had already purchased the panels for my enclosure, so I used the cardboard packaging to build my full-scale mockup.
It's not shown here, but I also took the scrap of laminate used for the control panel mockup and assembled a joystick and player 1 buttons. This allowed me to determine if the spacing was adequate and (bonus!) test-play some games with a controller very similar to the finished control assembly.
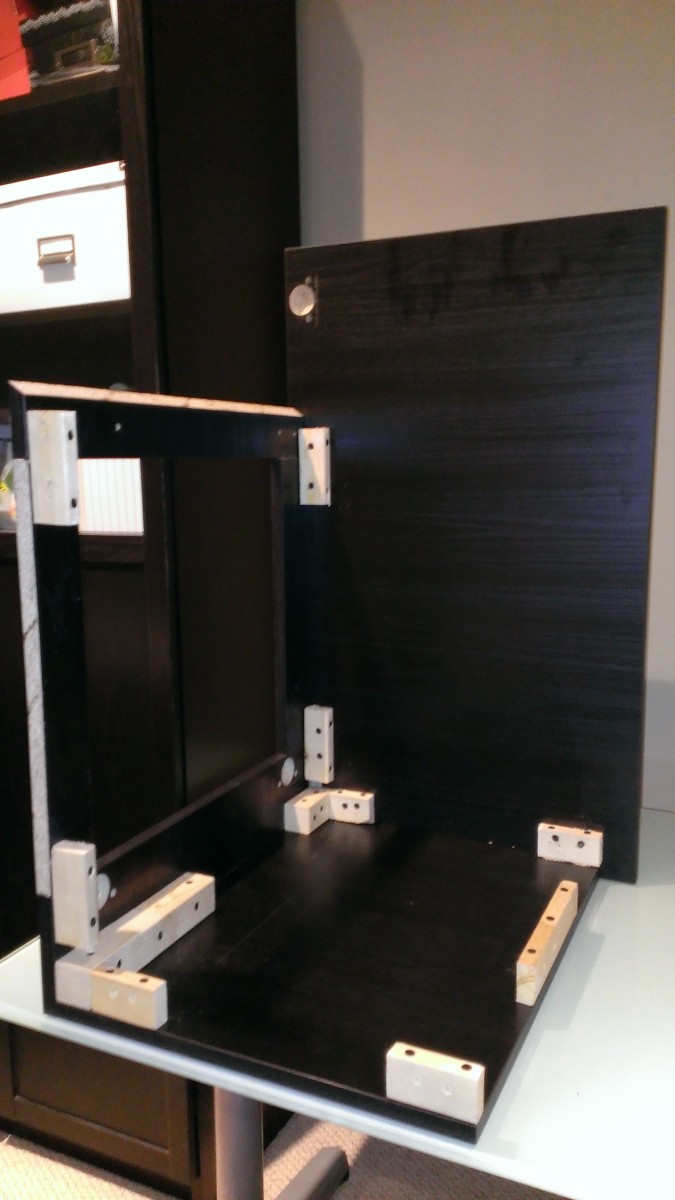
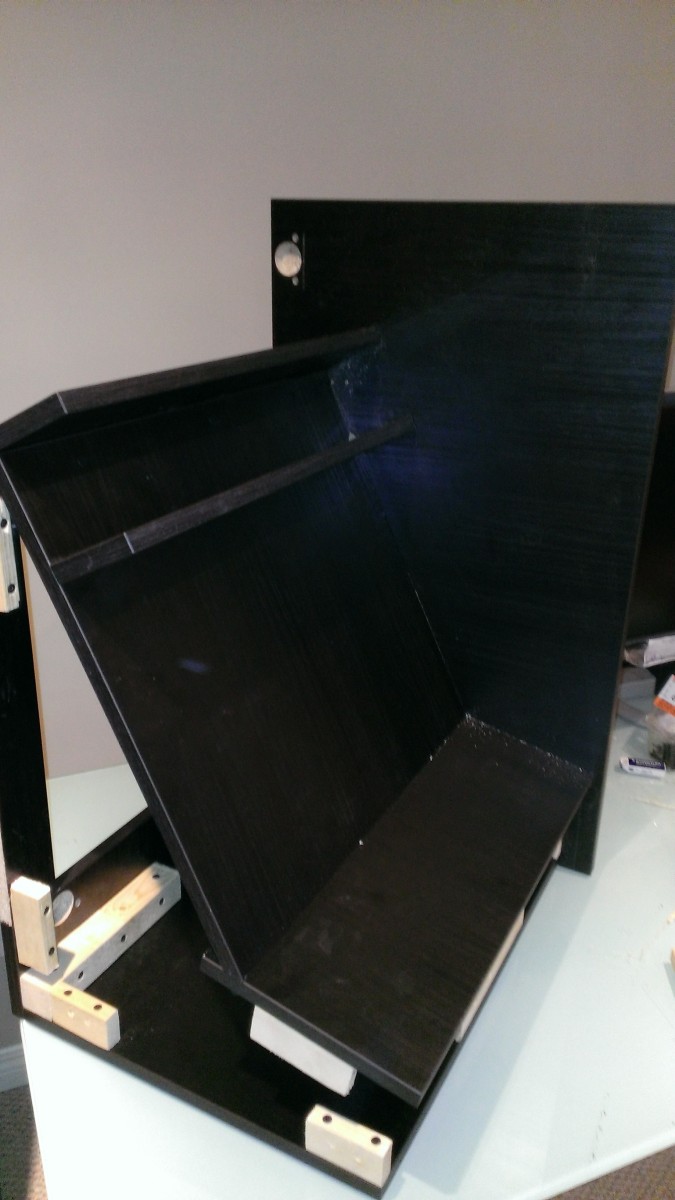
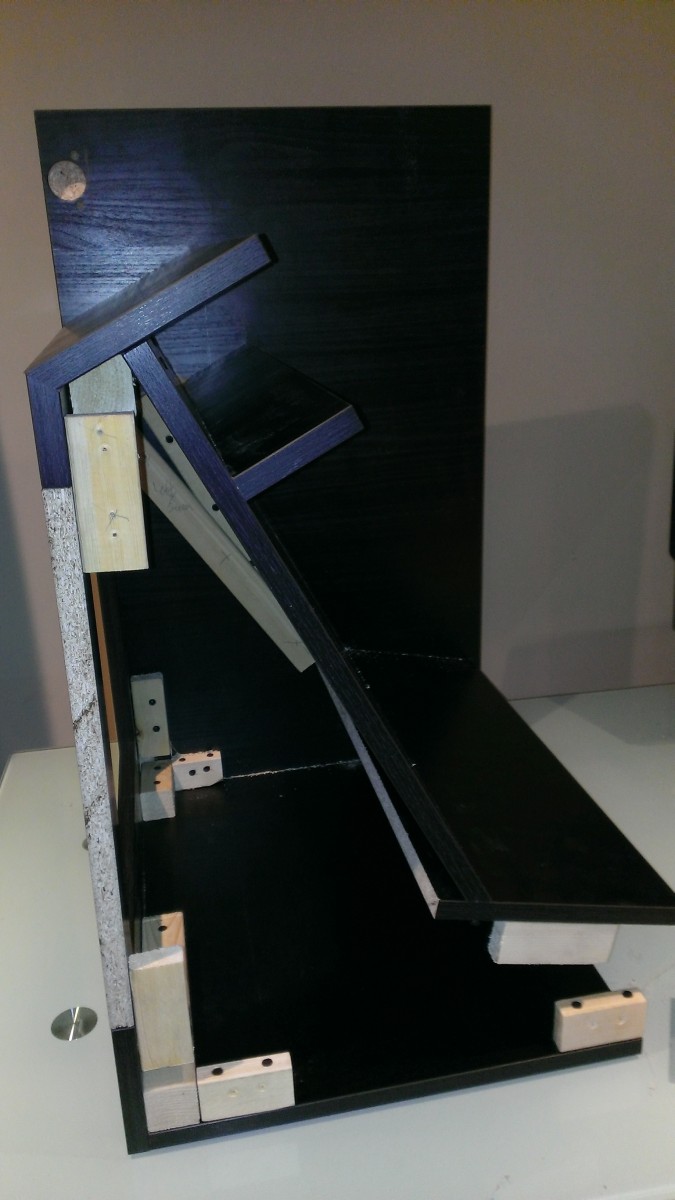
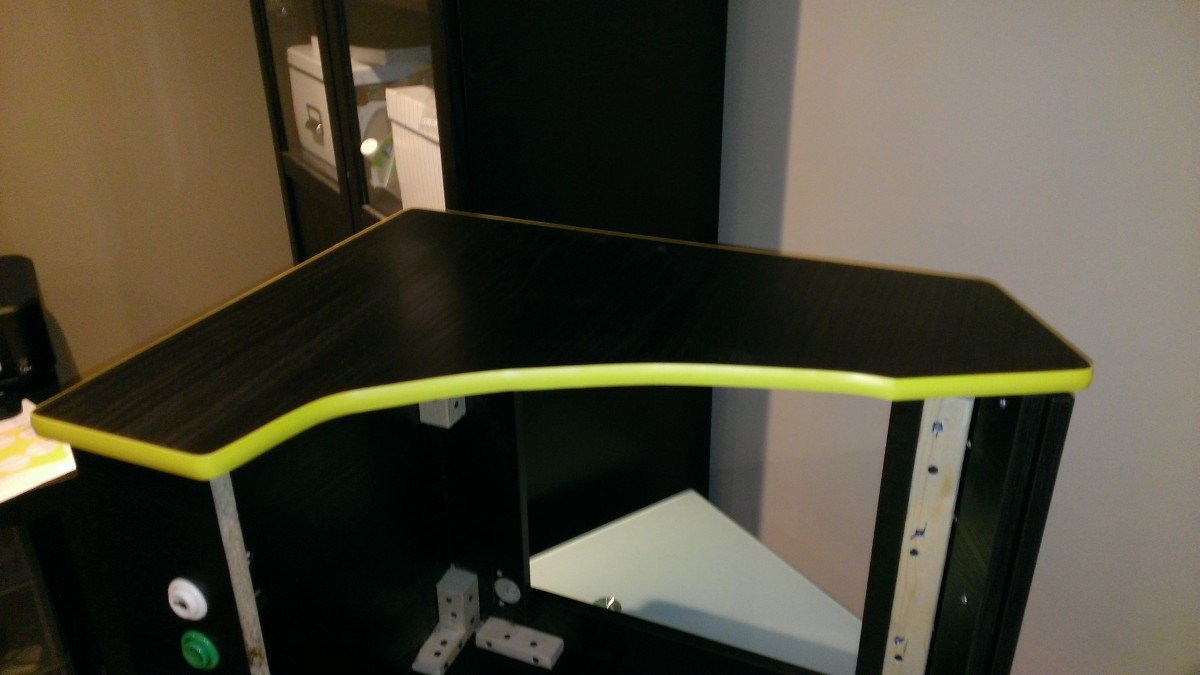
Enclosure
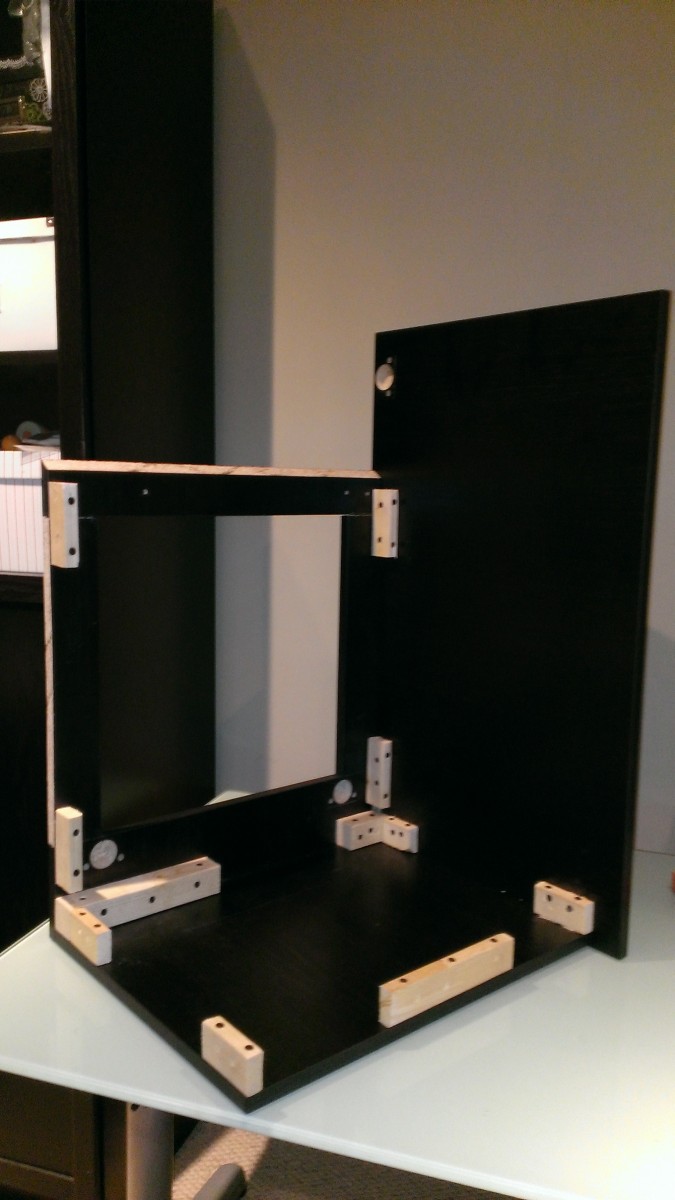
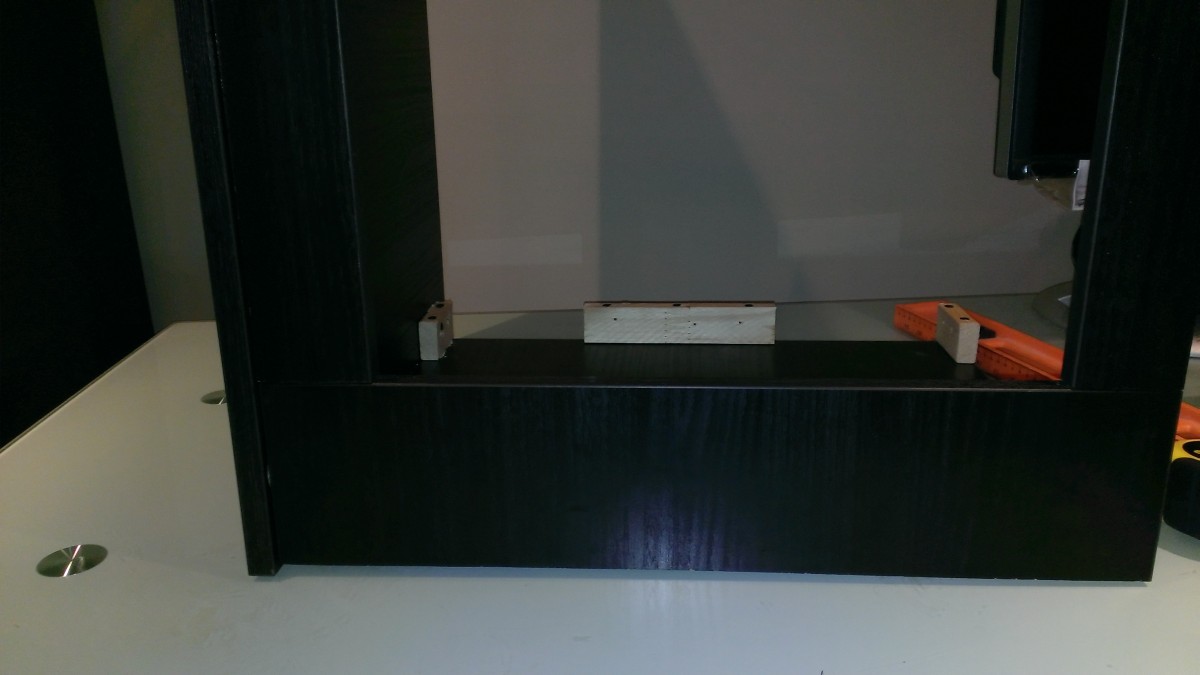
My enclosure is made with TINGSRYD kitchen cabinet doors from Ikea. They have a nice black woodgrain finish and are available in lots of different widths and a few standard heights. One of the instructables I found used a design with a width of 50 cm. The 20” TINGSRYD door is 50.8cm high, so I built everything but the sides from various widths of this door, then used two 30” high doors for the sides. The doors are also 5/8" thick, which (along with the more common 3/4") is one of two standard T-molding sizes.
These door panels can be a challenge to work. The finish is very hard, requiring pre-drilling all screws. You cannot have any unfinished edges or screw holes, so you need to plan your cuts carefully and attach all panels internally using blocks. This can be time consuming and a tight fit - invest in a short-handle screwdriver!
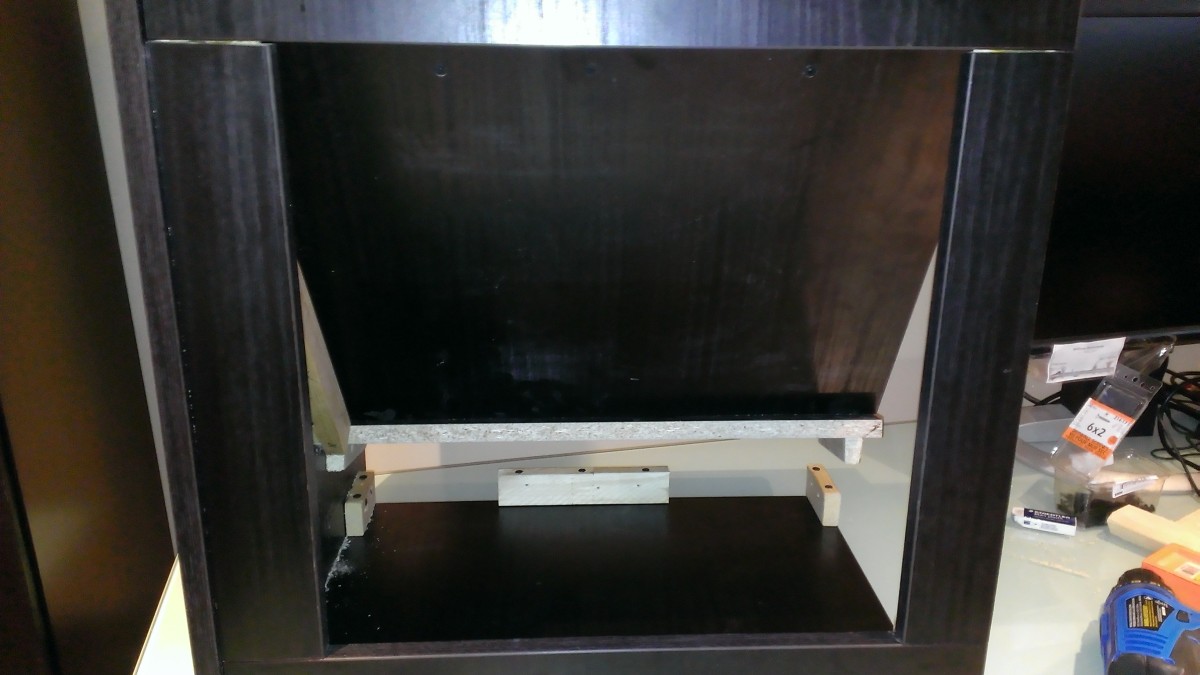
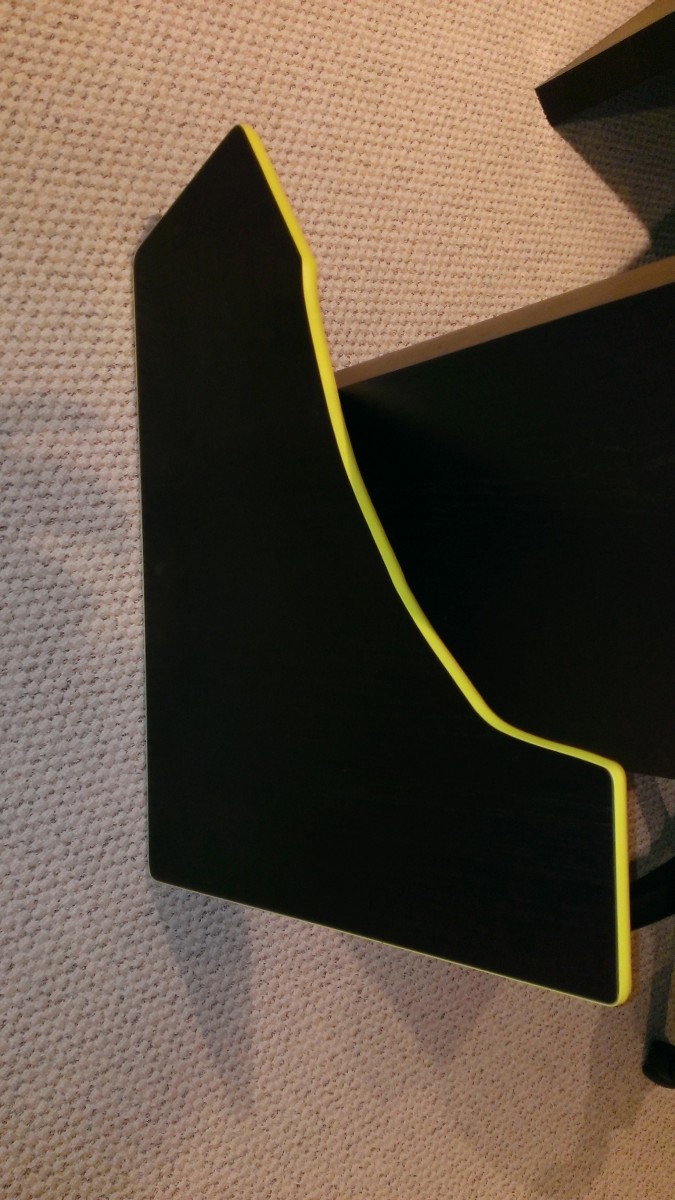
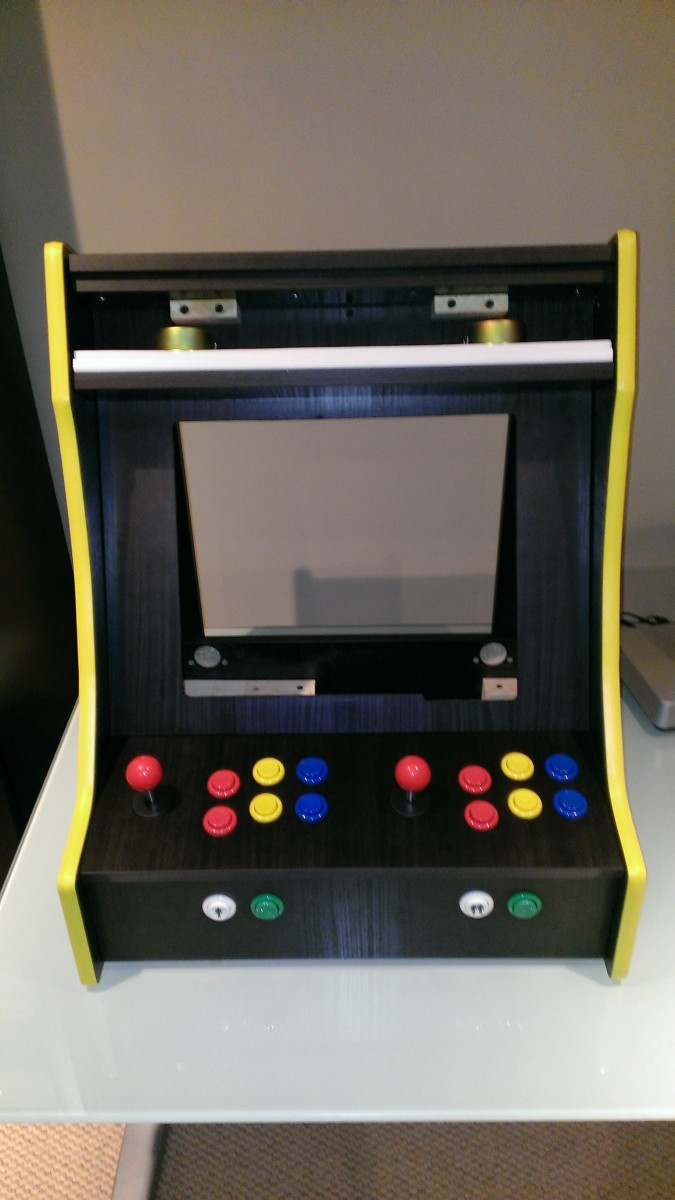
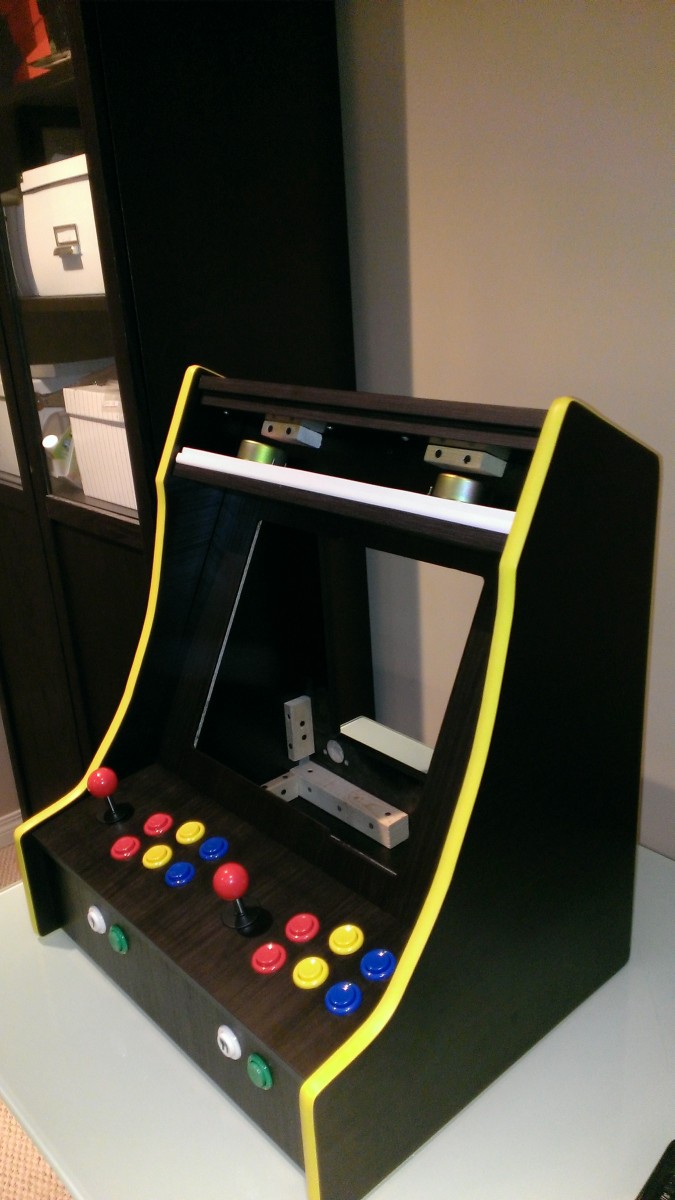
The back of my machine is open to accept a pre-sized panel as a door. To accomplish this I needed to rip 4 strips to the correct dimensions to fit (a) around my door and (b) within the back opening, then assemble with the finished edge on the inside using biscuits, glue and a lot of clamps. The only visible unfinished edge is the interior of the screen surround, where I used my router to recess the monitor and then blackened the 1/8" of exposed edge .

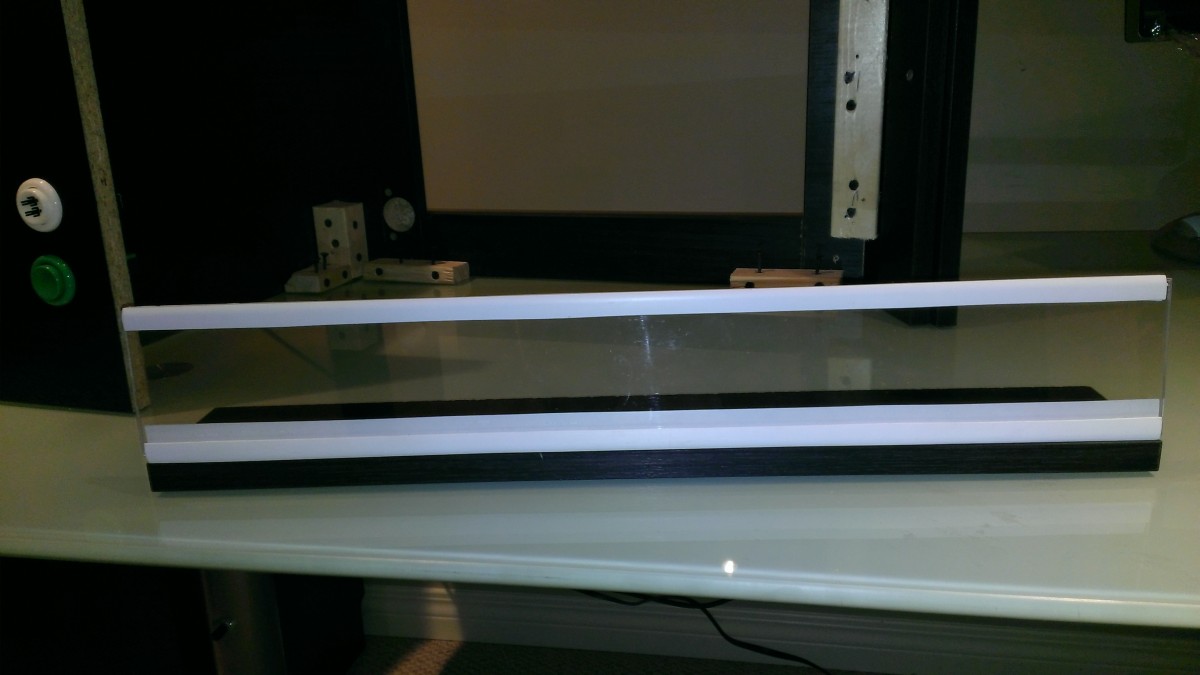
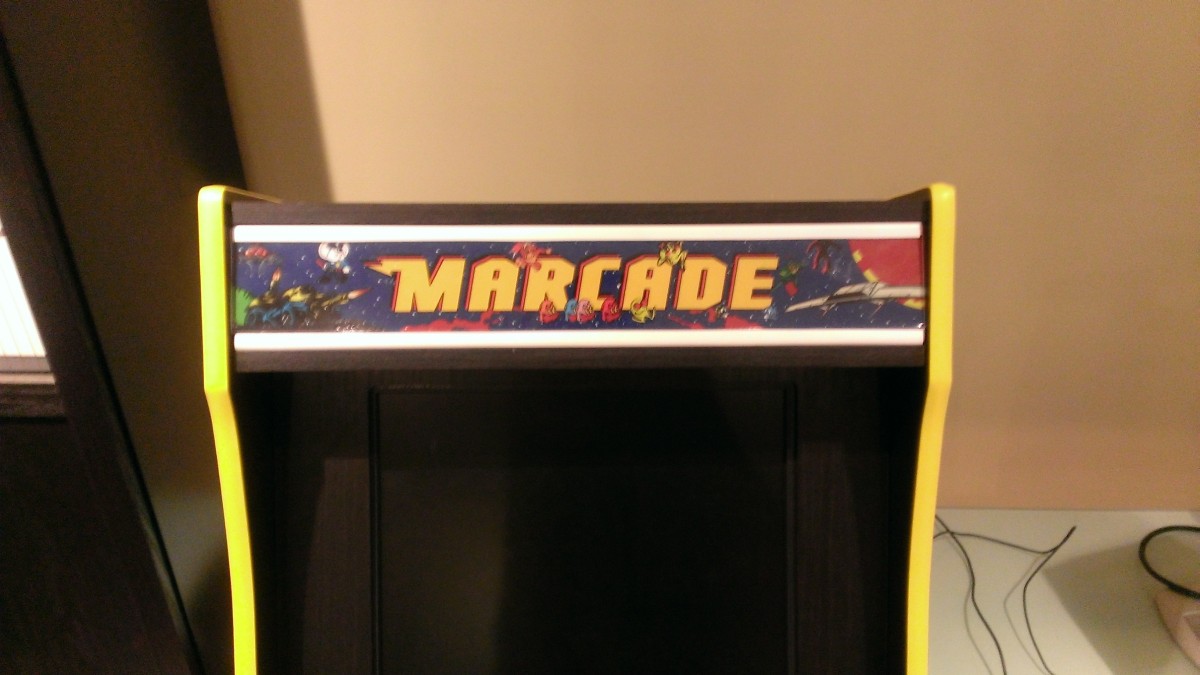
Marquee
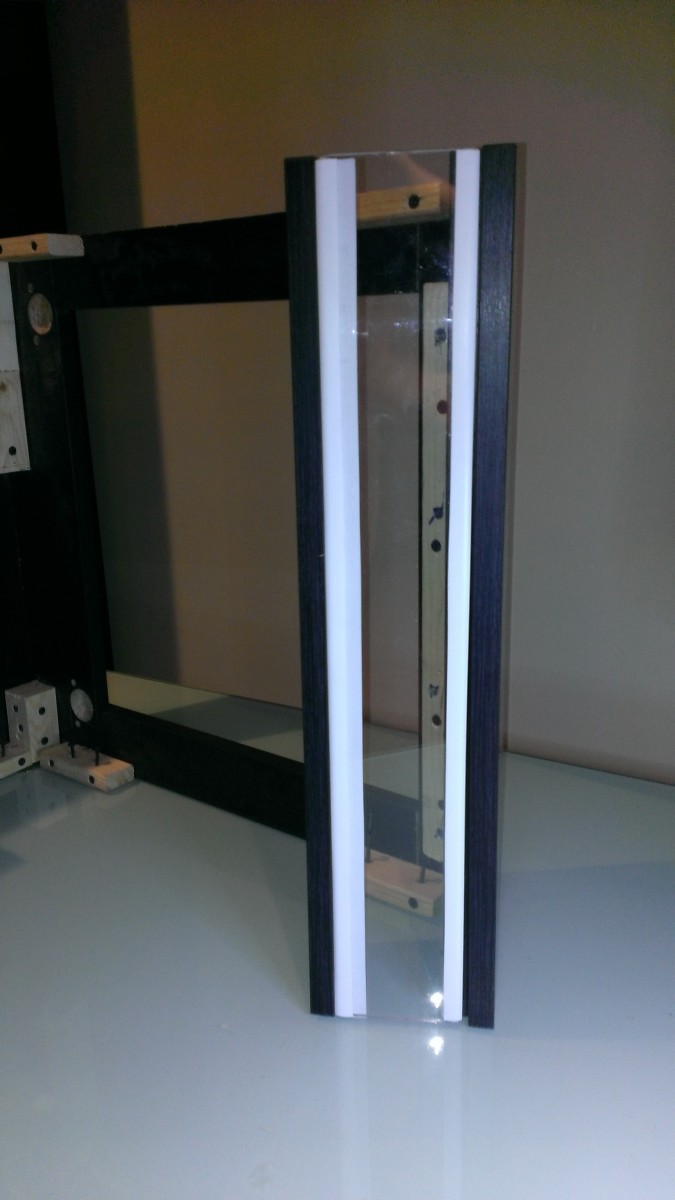
The Marquee is constructed of 2 sheets of clear acrylic sandwiching a plastic sticker that I had printed at a local print shop. I used a scrap of coping intended for drop-panel ceilings to hold it together.
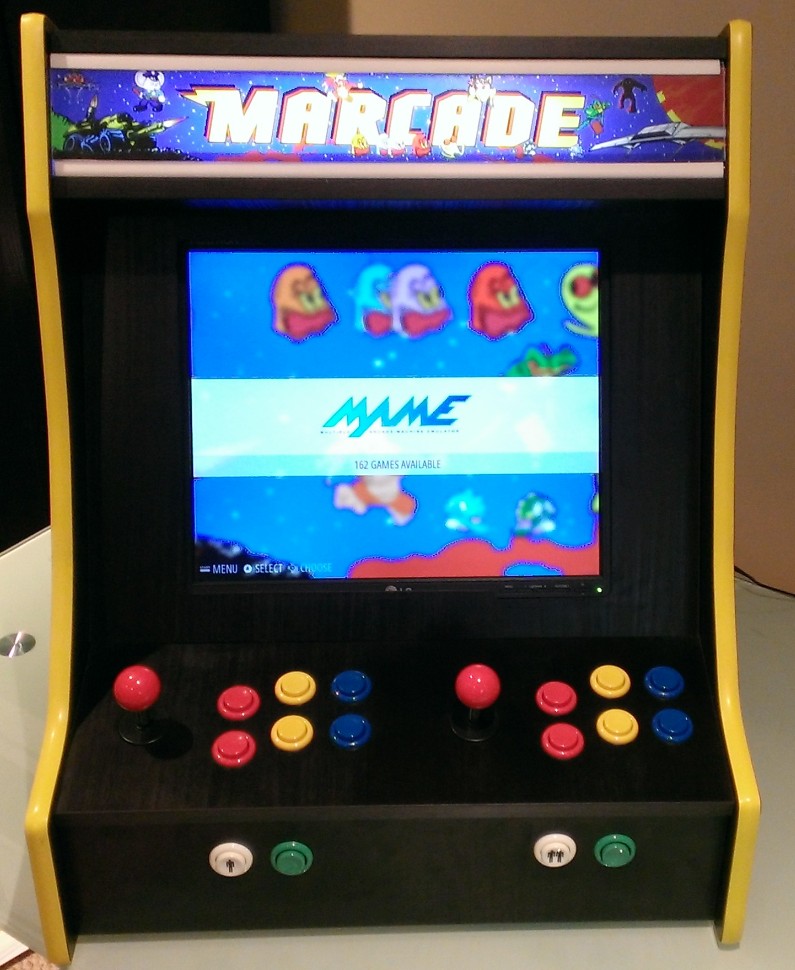
Designing your marquee is pretty basic; I used Paint.NET but any editor should work as long as you can design for the finished print size. Printing turned out to be a challenge. It's unlikely that Kinko's or Staples can print something of this size on an appropriate material. I talked to a local print shop and they were interested in my project, so I took a sample of the material home and determined it would work, then paid $10 to have my graphic added on to a current commercial job. They also converted my 96dpi PNG to the appropriate format and color space needed for the printing process. Another option is to look online; there are a few outfits that specialize in printing (and designing) graphics for arcade machine builds.
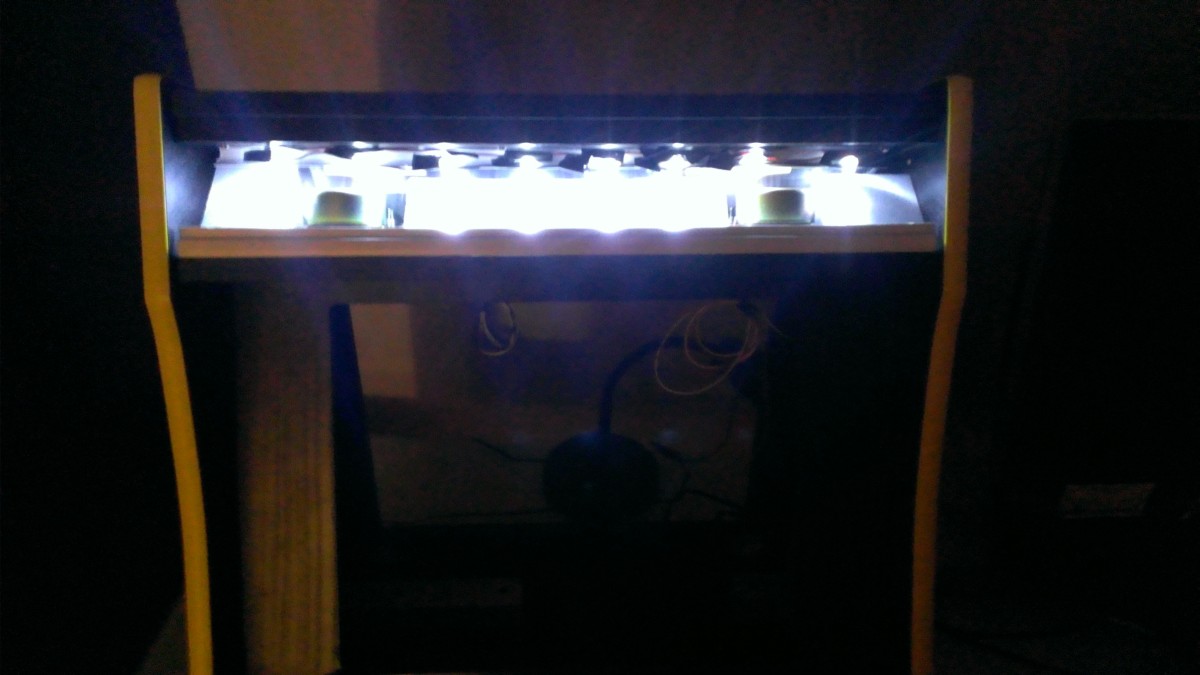
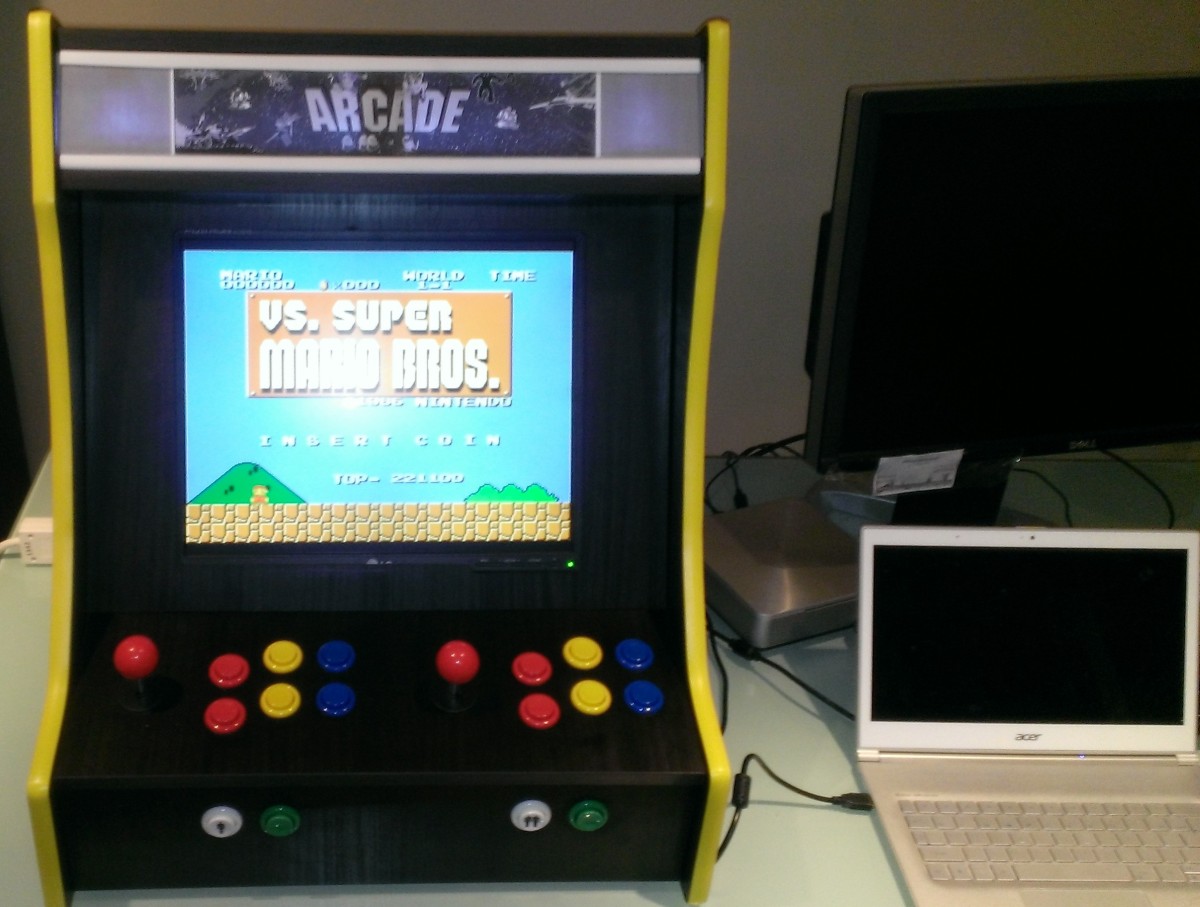
I originally soldered a set of white LEDs to light my marquee (seen here) but wasn't happy with the results so I replaced it with two strips of automotive LEDs powered by a orphaned 12v adapter.
T-Molding
T-molding gives your machine vintage credibility, plus in my case was required to cover up the raw cut edge. You need a router and slot-cutting bit of the correct width to do this. Use a scrap of material and molding to get your bit depth set correctly, then light taps with a rubber mallet is all it takes to set the molding. When turning corners cut out a "V" in the bead so the trim will sit flat around the corner.
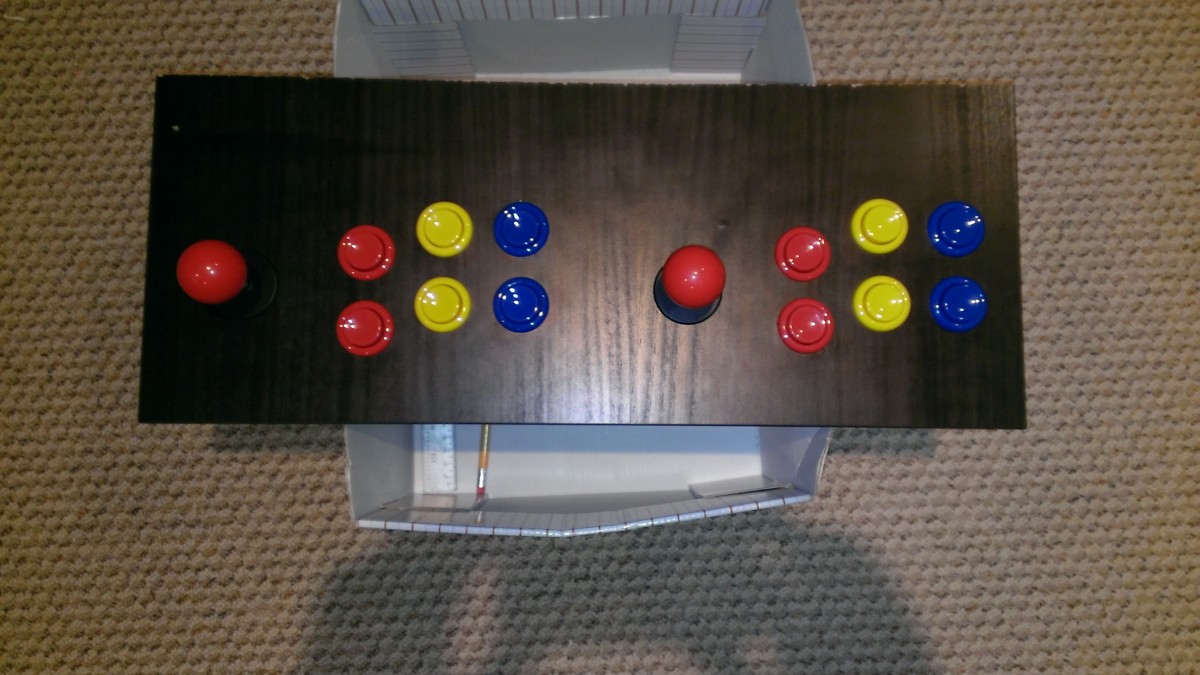
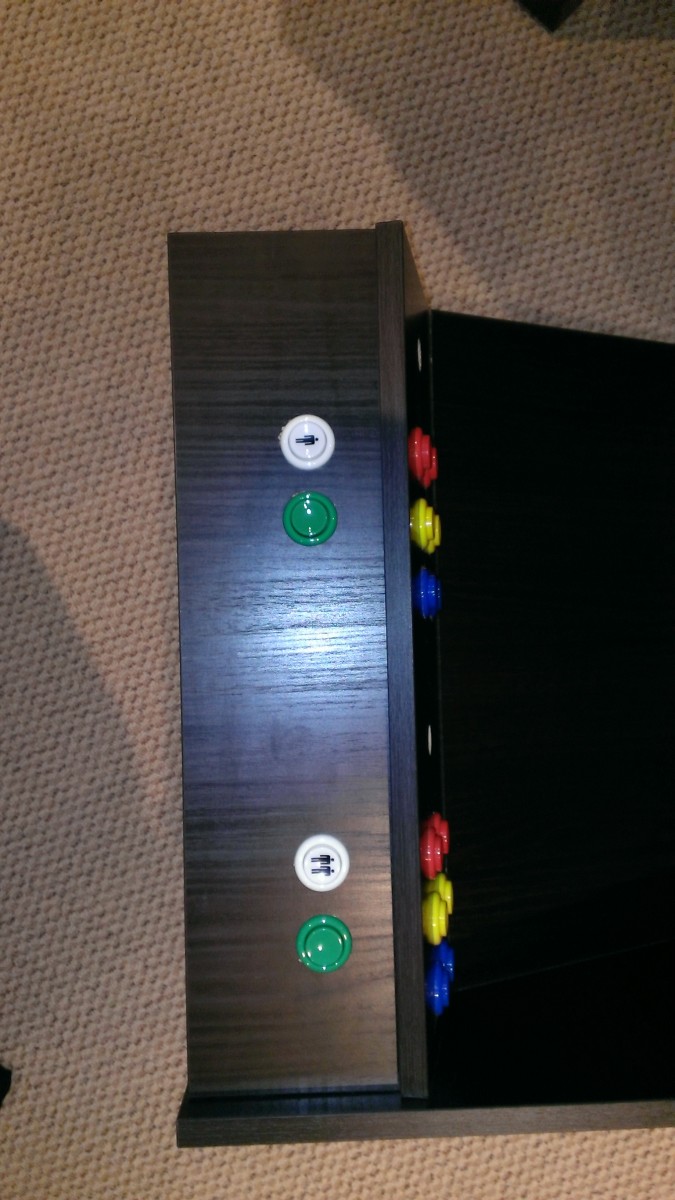
Controls and Other Internals
I bought a kit that included two joysticks, a set of 20 buttons and a USB controller from RetroActive Arcade (this is also were I got the t-molding). Wiring is pretty straight forward, with each switch sharing a common daisy-chained wire and having its own pin connection to the controller card as specified in the instructions. The hardest part is fitting everything under the console as you assemble. I found it easiest to dissemble the side of the enclosure and unscrew hard-to-reach buttons, then put it back together once the wiring is completed.
I originally used a Raspberry Pi to run my software, but the on-board HDMI couldn't drive my old VGA-only monitor and my video adapter's performance was shaky at best. I ended up using a tiny ASUS all-in-one Windows PC to run the emulators (I'm primarily using Emulation Station and MAME) and accept the USB controller card. The PC is a piece of garbage and performance is poor but acceptable (considering we're asking it to emulate games 25+ years old). The speakers in the build pictures have been replaced with a cheap amplified USB speaker bar.


Final Assembly
Getting everything to fit correctly required me to assemble and disassemble my machine repeatedly, so it was a big day when I finally put it back together for the last time. With one side attached I could:
- attach the control panel from the inside and complete the wiring,
- install the monitor with two L-shaped brackets holding it in place, and
- run the wiring for the marquee
Then from the back opening I could attach the second side, install the computer and peripherals and plug everything together.
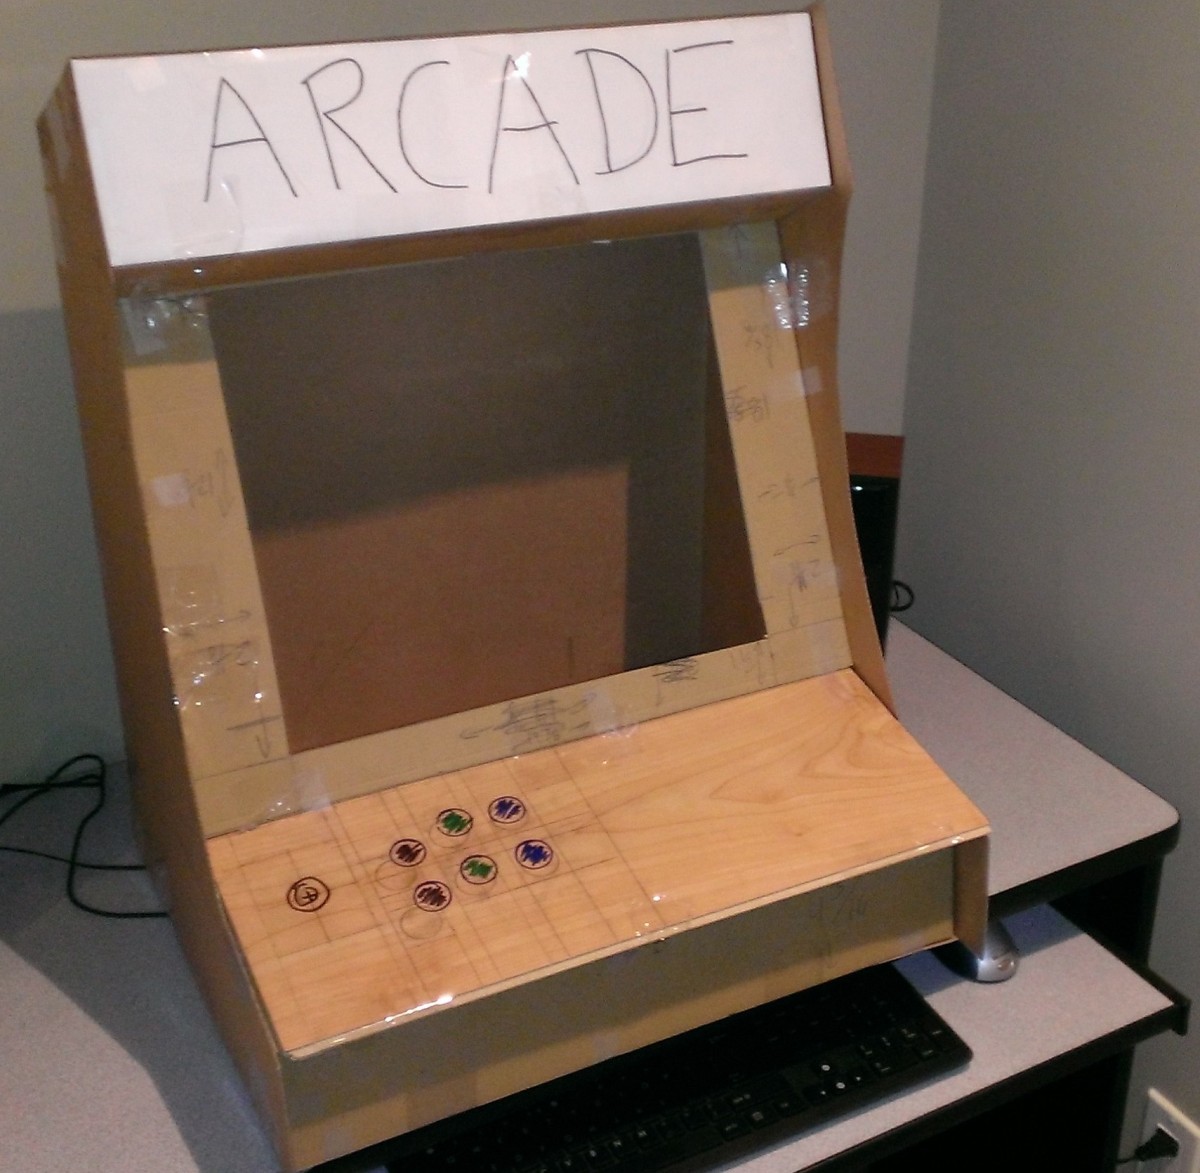
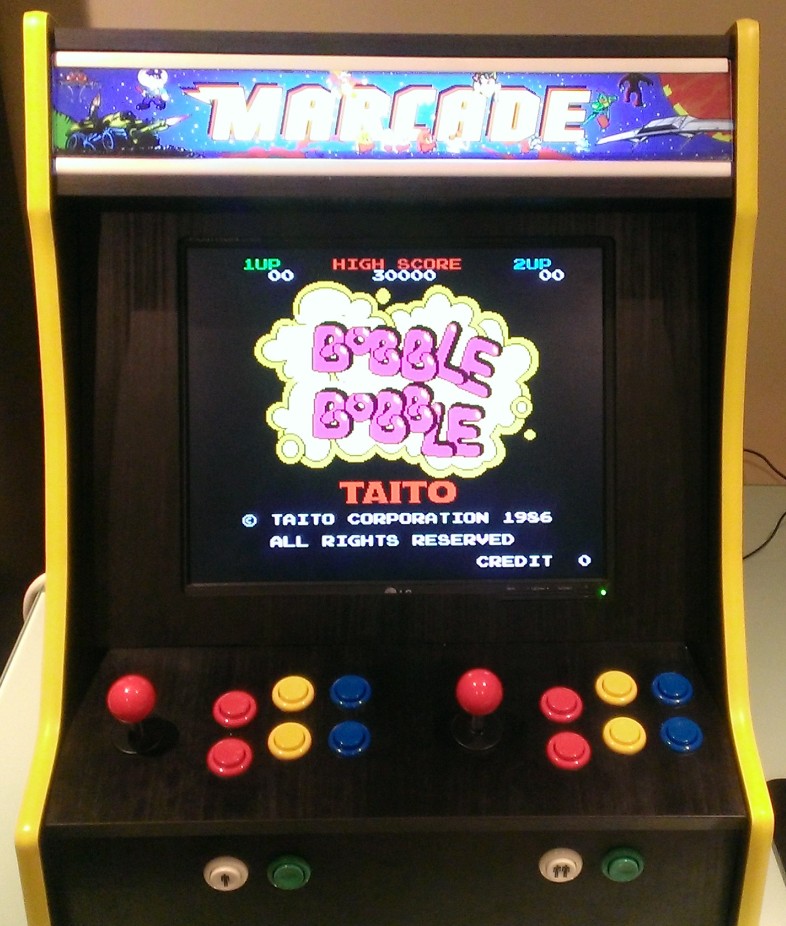
Completed Machine
The completed machine, fully assembled and ready for action!

Notes
My build taught me a few lessons:
- There are lots of builds of all dimensions, styles and finishes on the internet. Spend some time reviewing what others have done before you start your machine.
- Determine the general style of machine you want before you start building. Will it be one, two or more players? Will it have a trackball? Is it table-top, full-size or cocktail? How many buttons?
- It's super-helpful if you can find plans or design documents for a machine similar to what you plan to build. It's easier to modify an existing design rather than start from scratch.
- Once you decide on the style, build a mock up with cardboard. Focus on the control area to make sure your layout works and each player has enough space.
- Get your screen and controller hardware before you start building. Your design will evolve as you build, but it’s hard to change these two components. It’s much easier to slightly alter the size of your enclosure rather than source a specific screen size.
- New monitors have a 16:9 or 16:10 aspect ratio, while older games used 4:3 ratio monitors. If you have an old 17” or 19” VGA monitor these work great. The original IPads are also 4:3 screens and can be used for a single player machine.
- You can approach your cabinet build from two general directions: you can use a product like MDF that’s easy to work with but requires a lot of sanding and painting to finish, or you can use prefinished panels like I did. There’s more work in construction but essentially no finishing required and as they are often designed as cupboard doors they are more durable to chips and dents. You need to plan your cuts carefully as you cannot leave any exposed edges. It’s also more expensive to buy panels than a sheet of MDF (approx. three times the cost in my case).
- Use an arcade-specific provider for your joysticks and buttons, but get everything else from AliExpress or Deal Extreme. You can't really skimp on the arcade-specific parts but for anything else Chinese suppliers will save you lots of money (although not time spent waiting for overseas delivery)
- You don't need a lot of special tools, but there are a few that will make your job easier and give you a higher-quality finish. I wouldn't start a build without a table saw, jigsaw, electric sander and drill. If you want to use T-molding you will need a router and slot-cutting bit. The router is also invaluable for cutting the second side panel identical to the first, and recessed cuts for screens.
Summary
Overall it was a fun project, though it took significantly longer than planned to complete. As an estimate I probably spent about $400 on materials, not including he VGA monitor and mini PC I had collecting dust in storage. With these types of projects it's a good idea not to track the costs too closely. I did use the arcade machine as the justification to buy a decent router and selection of bits, but if I build enough arcade units I can amortize those purchases to a reasonable unit amount. It should only take a few dozen units... Next up I'm going to build a small one-player unit with a 7" LCD screen, using 1/2" MDF. Stay tuned...
Pictures
Here are all of the Marcade pictures in a single gallery:
The Marcade was built by Mark Dochstader with a lot of help from the interwebs. website: www.dochstader.com